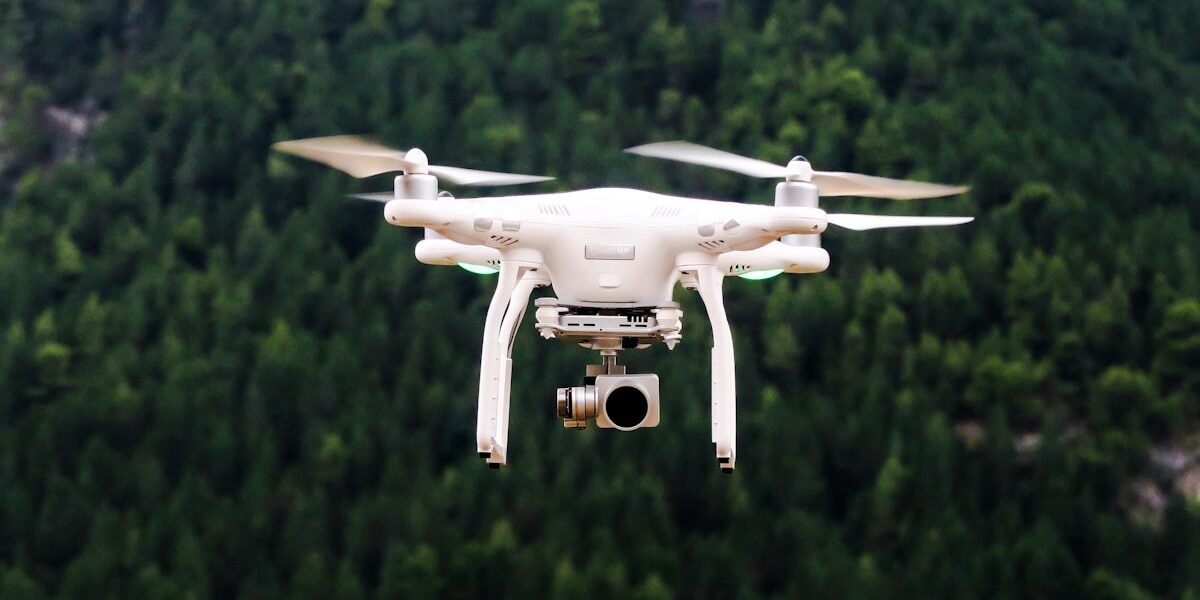
Drone Understanding Your Drone Contr guidance has gotten complicated with all the outdated regulations and conflicting advice flying around. Here’s what you actually need to know.
Drone Controller
Understanding Your Drone Controller
A drone controller, often called a transmitter or remote controller, is a critical component of any drone operation. It is the interface between the pilot and the machine. Without it, precise navigation and execution of complex maneuvers would be impossible.

Basic Components
Probably should have led with this section, honestly. The drone controller has several key parts. First, there are the control sticks. These are usually located in the middle of the controller and are used for primary flight inputs. Typically, one stick controls throttle and yaw, while the other handles pitch and roll.
Trim buttons are equally essential. They allow fine adjustments to the neutral position of each control axis. This helps maintain stable flight without constant manual correction.
Function buttons complete the main controller components. These buttons may take different forms depending on the drone model. Common examples include takeoff, landing, photo capture, and video recording.
Communication Signals
The controller communicates with the drone using radio frequency signals. These signals are transmitted from the controller’s antennas to the drone’s receiver. Different frequency bands are used, such as 2.4GHz and 5.8GHz. The 2.4GHz band is popular for its longer range and better penetration through obstacles. However, the 5.8GHz band offers less interference in crowded environments.
Modern controllers often employ digital transmission protocols, enhancing signal stability and range. Some advanced controllers even integrate dual-band technologies, switching between frequencies for optimal performance.
Using the Control Sticks
Mastering the control sticks is vital. For a mode 2 controller, the left stick manages throttle (up/down) and yaw (left/right). The right stick controls pitch (forward/backward) and roll (left/right).
To make the drone ascend, push the left stick upward. To descend, pull it downward. Rotating the drone left or right requires moving the left stick sideways.
The right stick’s forward push will tilt the drone’s nose downward, causing it to move forward. Pulling it back causes the drone to move backward. Moving the right stick left or right causes sideward movement.
Understanding Modes
Drone controllers can operate in different modes. Mode 2 is the most widespread. It places throttle and yaw on the left stick and pitch and roll on the right stick. Mode 1 is less common and has throttle and roll on the left, with pitch and yaw on the right.
When buying a new controller, ensure it matches your preferred mode. Transitioning between modes requires retraining your muscle memory, which can be challenging.
Advanced Features
High-end controllers offer additional features. Some include customizable buttons that can be programmed for specific actions. This allows users to tailor their control experience.
Controllers with built-in screens provide live video feeds from the drone’s camera. This feature, known as FPV (First-Person View), helps in precise flying and cinematography.
Some advanced models support telemetry data. This includes real-time information like battery status, altitude, speed, and GPS coordinates.
Connecting Your Controller
Pairing your controller with the drone is a straightforward process. Start by turning on both the drone and the controller. Enter the binding mode as instructed by the manufacturer. Typically, this involves pressing a combination of buttons on either the drone or the controller.
Once paired, the controller should display information confirming the connection. Always perform a pre-flight check to ensure all controls are responding correctly.
Maintaining Your Controller
Regular maintenance of your controller ensures longevity and reliability. Keep it clean and free of dust. Wipe it down with a soft cloth after each use.
Regularly check for firmware updates provided by the manufacturer. These updates can improve performance and add new features.
Store your controller in a cool, dry place. Avoid exposing it to extreme temperatures or moisture, which can damage the electronics.
Troubleshooting Common Issues
If the controller fails to connect to the drone, try re-pairing them. Refer to the user manual for specific instructions.
If you experience control lag or poor signal quality, check for sources of interference. This could include other electronic devices, power lines, or crowded Wi-Fi channels.
Controller calibration issues can also arise. Calibrate the controller as per the manufacturer’s guidelines, usually found in the settings menu or manual.
Best Practices for Optimal Performance
- Always perform a pre-flight check.
- Regularly update controller firmware.
- Keep spare batteries for extended sessions.
- Practice flying in open, unobstructed areas.
- Use dual-band controllers for less interference.
Legal and Ethical Considerations
Operating a drone comes with responsibilities. Familiarize yourself with local regulations regarding drone usage.
Many regions require drone registration. Flying near airports or over populated areas is often restricted.
Respect privacy. Avoid flying over private properties without permission.
Safety Tips
- Never fly near airports or aircraft.
- Maintain visual line of sight with your drone.
- Be mindful of weather conditions.
- Ensure battery levels are adequate before flight.
- Have an emergency landing spot planned.


Stay in the loop
Get the latest light drones updates delivered to your inbox.