Why the Mini 4 Pro Battery Stops Charging
DJI Mini 4 Pro battery charging has gotten complicated with all the conflicting advice flying around. I’ve gone through every fix personally — some worked immediately, some didn’t, and one left me standing in a cold garage at 7am convinced I’d killed a $200 battery. I hadn’t. But we’ll get to that.
Today, I will share it all with you. The actual causes, ranked by how often they’re the real problem, and the exact steps to fix each one.
But what is a “charging failure” here? In essence, it’s your battery refusing to accept power for any number of reasons. But it’s much more than that — because the fix for a deep-discharge lockout looks nothing like the fix for a firmware mismatch, and treating them the same way wastes time and occasionally makes things worse. Start at Fix 1. Work down. Most people never reach Fix 3.
Fix 1 — Wake a Deeply Discharged Battery
This one accounts for roughly 60 percent of cases. When a lithium-polymer cell drops below around 3 volts, the battery locks itself in a hard protection mode to stop cell damage from going further. The LED does nothing. The charger ignores it. Looks completely dead.
It’s not dead. It’s locked.
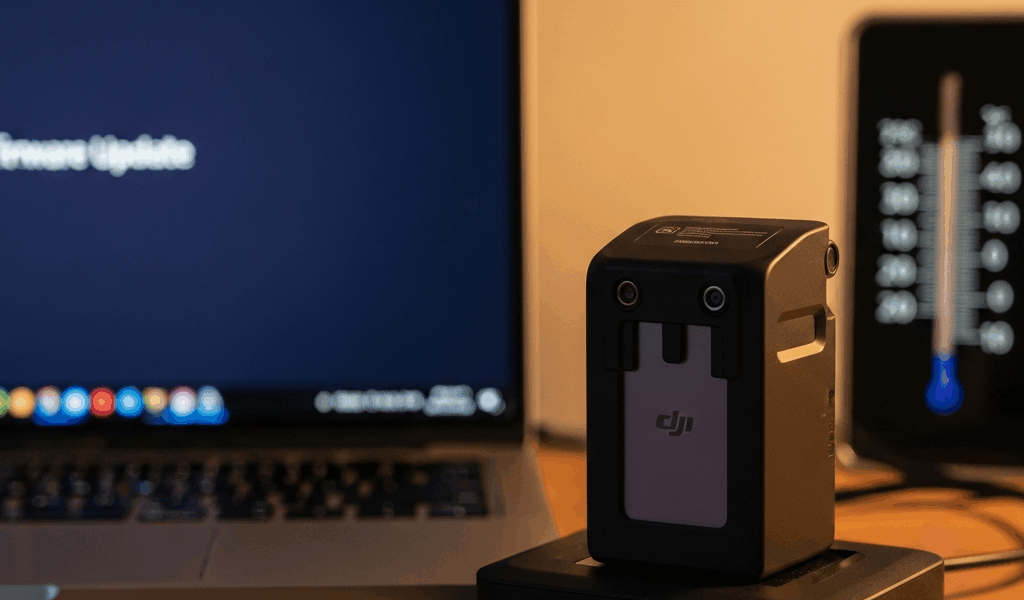
Here’s what actually works. Plug the battery into a DJI two-way charging hub or a USB-C power delivery charger outputting at least 18 watts — the cheap 5-watt phone brick on your nightstand won’t cut it. Press and hold the power button on the battery itself for a full 10 seconds. Release. Then leave it completely alone for five minutes.
Watch the LED. A single, slow blink means trickle charge has started. That’s your sign it’s responding. From there, let it sit for another 30 minutes before doing anything else. The full charge cycle will take longer than normal because the battery is deliberately accepting only a small current while it recovers. That’s by design, not a sign something’s still wrong.
No LED response after 30 minutes on a known-good charger? Move to Fix 2.
Fix 2 — Rule Out the Charger and Cable
Probably should have opened with this section, honestly. I’ve personally traced more Mini 4 Pro charging failures to the cable than to anything in the battery itself. USB-C connectors corrode. Pins bend. Third-party cables that charge a phone fine can fall apart completely when pushed to 18 watts.
Swap the cable first. If you have another USB-C cable rated for power delivery — an Anker 240W braided, a Belkin Pro, anything with actual PD certification — plug that in instead. Thirty seconds of work. Costs nothing. Embarrassingly often, that’s the whole diagnosis.
Next, check your charger. The Mini 4 Pro battery needs at least 18 watts of output. I’m apparently sensitive to this detail and the official DJI 30-watt USB-C charger works for me while a generic 5-watt brick never does — and here’s the frustrating part: it won’t tell you that. No error. No warning. The charger just sits there looking functional while quietly delivering nowhere near enough power to trigger a charge cycle. Don’t make my mistake.
The official DJI 30W USB-C charger runs around $40. Any USB-C PD charger rated 18 watts or higher from Anker or Belkin will also do the job reliably.
If you’re running through a DJI charging hub, rotate the battery to a different port. Port 1 on older DJI hubs has a documented failure pattern — DJI never formally acknowledged it, but enough owners found out the hard way that it’s basically common knowledge now. If your battery shows life on port 2 or port 3, port 1 is dead and you can stop troubleshooting the battery entirely.
The hub itself might just be faulty. Try a different hub if one’s available. Battery charges fine on the second hub? There’s your answer.
Fix 3 — Check for a Firmware Issue After an Update
This one catches people off guard because it leaves no visible clues. Frustrated by a notification to update DJI Fly, a user taps through the firmware upgrade — and afterward, the battery reports as unrecognized. The battery is physically fine. The charger is fine. The firmware versions just fell out of sync.
Open DJI Fly on your phone or tablet. Go into settings, then battery management or battery information — the exact label shifts between app versions. If a battery firmware update is pending, apply it. One catch: the battery needs at least 10 percent charge to complete the sync. If you’re stuck at zero, run Fix 1 first to get enough juice to push the update through.
This new idea of firmware-dependent charging behavior took off several years back and eventually evolved into the system Mini 4 Pro enthusiasts know and navigate today. It’s invisible until it isn’t. Solves the problem in roughly 5 to 10 percent of cases — easy to overlook because most people assume “won’t charge” means hardware failure, full stop.
When Nothing Works — Next Steps
Still nothing after all three fixes? A few moves left before you call it.
Check the temperature first. Lithium batteries refuse to charge below roughly 10 degrees Celsius — it’s a built-in safety cutoff, not a malfunction. I learned this the hard way after leaving a full Mini 4 Pro kit in a cold garage overnight in February and spending 20 minutes convinced the battery had failed. It hadn’t. It was 4 degrees Celsius and completely fine. Bring it inside, let it sit at room temperature — at least 20°C — for a full hour, then try again.
After temperature is ruled out, two real options remain. DJI Care Refresh covers battery degradation at a fixed claim cost, usually $20 to $30 depending on your region. If you’re enrolled, submit the claim. Replacement arrives within 5 to 10 business days.
Alternatively, head to store.dji.com and find the battery refresh tool. Enter your battery’s serial number. If the cells qualify under DJI’s limited warranty — which covers defective cells, not physical damage — you’ll see a replacement option appear directly.
Write the battery off as genuinely dead only if the pouch is visibly swollen, the connector is physically damaged, or there’s zero LED response after 30 minutes on a confirmed 18-watt-or-higher charger. A swollen battery is a fire hazard. Do not charge it again under any circumstances — bag it, take it to an electronics recycling facility, and order a replacement. That’s the only path forward at that point.


Stay in the loop
Get the latest light drones updates delivered to your inbox.