Why Your Mini 4 Pro Footage Looks Blurry
Getting sharp drone footage has gotten complicated with all the conflicting advice flying around. As someone who has shot client projects with the Mini 4 Pro for the past two years, I learned everything there is to know about what actually ruins footage. Today, I will share it all with you.
Here’s the short version of what went wrong for me: I spent a full afternoon on a paid shoot only to pull up footage that looked like someone had smeared Vaseline on the lens. Soft. Unusable. The client was patient. I was not. What I figured out — after a lot of cursing and test flights — is that blurry Mini 4 Pro footage almost never comes from one thing. It stacks. Shutter speed set too slow, wrong ND filter, autofocus hunting around instead of locking, gimbal calibration drift, resolution or bitrate mismatches, vibration from a chipped propeller. That’s the real list. Most articles hand you one fix and call it a day. That’s not enough.
Fix 1 — Check Your Shutter Speed First
Shutter speed is the usual suspect. Too slow and motion blur takes over. Too fast and you get that jittery, strobing look that screams “amateur drone clip” — and not in a charming way.
There’s a rule worth tattooing somewhere: the 180-degree shutter rule. Your shutter speed should roughly double your frame rate. Shooting 24fps? Set it to 1/50th. At 30fps, go 1/60th. At 60fps, you need 1/120th. These aren’t locked-in laws — you can drift slightly — but they’re the range where motion reads as natural and smooth to the human eye.
What I learned the painful way: drop below those values and fast pans look like smeared watercolor paintings. Push too far above them — say, 1/500th at 24fps — and your footage gets this weird, stuttering quality that editing software can’t save.
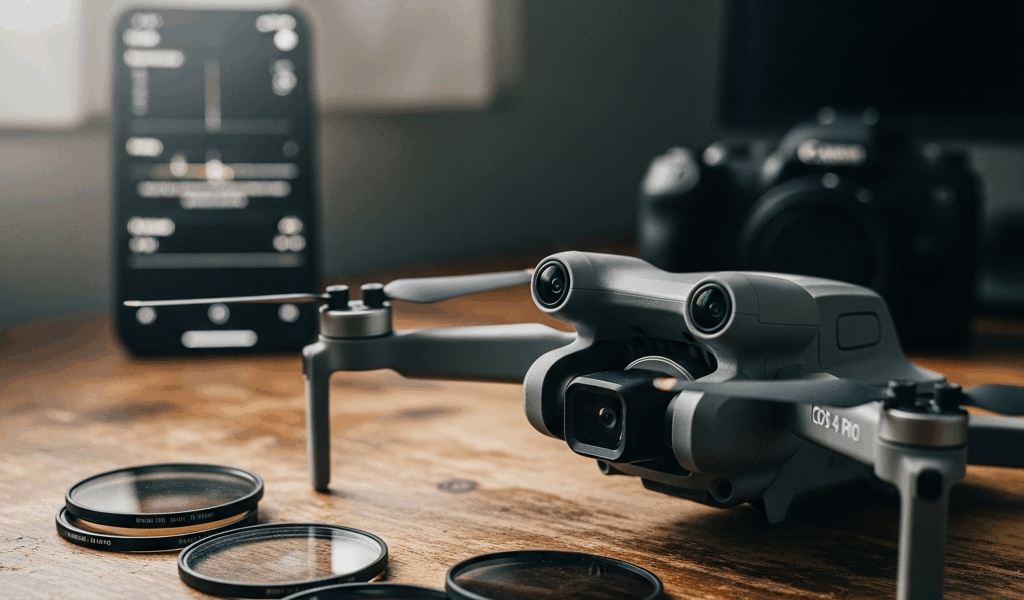
To change shutter speed in the DJI Fly app, open the camera settings panel and tap the shutter icon — the circle with a wedge cut out. Manual mode beats Shutter Priority here because you control the exact number. Tap the displayed value to adjust. The app shows shutter speed and ISO together, which matters because they interact constantly.
One trap people walk right into: overcast days and indoor shooting tempt you to slow the shutter down to pull in more light. Don’t. That’s what ND filters exist for. Keep shutter speed in the 180-degree range no matter the lighting. If the image looks dark after setting a correct shutter speed, touch the ISO or swap to a lighter ND filter instead.
Fix 2 — ND Filters, Autofocus, and Gimbal Calibration
The ND Filter Mismatch
But what is an ND filter mismatch? In essence, it’s when the filter strength you’ve chosen works against your exposure rather than for it. But it’s much more than that — a wrong ND choice quietly destroys shutter speed discipline and you won’t notice until you’re back home reviewing files.
ND filters cut light so you can hold a correct shutter speed without blowing out the exposure. Pick the wrong strength and you’re back to the same blur problem. Too heavy an ND in dim conditions forces you to slow the shutter down — which defeats the entire point.
Quick reference that lives in my kit bag: ND4 for moderately bright outdoor light. ND16 for harsh midday sun or wide-aperture shooting. ND64 for bright water surfaces or direct overhead sun around noon. Overcast days? Start with no filter at all. Check exposure, then add one only if the image is still blowing out.
Autofocus Hunting
Probably should have opened with this section, honestly. Focus mode is easy to overlook — it doesn’t feel as technical as shutter speed — but it causes just as much damage to footage.
The Mini 4 Pro gives you three modes: AFS (autofocus single), AFC (autofocus continuous), and MF (manual focus). The hunting problem happens in AFC when the camera keeps chasing a moving subject — that constant back-and-forth focus adjustment makes everything look soft and unstable, even when nothing is technically wrong with your settings.
Shooting a landscape or stationary subject? Lock it with AFS. Tap the subject once, the camera focuses there, done. AFC works for moving subjects but only when there’s genuine depth variation happening in frame. For everything else, it’s just causing problems.
In DJI Fly, open camera settings and find the autofocus section. You’ll see AF Zone, AF Sensitivity, and Mode listed. Tap Mode and make your selection. Manual focus means dragging a slider on screen — slower, but you own every frame.
Gimbal Calibration Drift
Gimbal drift is its own specific failure mode. The image slowly tilts or shifts even when the drone is holding still. Not motion blur exactly — more like a subtle waver or creeping lean that makes footage look cheap and unstable regardless of how well everything else is dialed in.
Run auto-calibration every few months — at least if you fly regularly or have dropped the drone even once. In DJI Fly: Settings > Safety > Gimbal Calibration > Auto Calibration. Set the drone on a flat, level surface. Don’t breathe on it for about 30 seconds while it runs. If the same drift reappears immediately afterward, calibration is not the problem. That’s your sign the gimbal motor itself needs replacement — no setting fixes mechanical failure.
Fix 3 — Video Resolution and Bitrate Settings
Resolution and bitrate mismatches create a specific, frustrating type of softness. The footage isn’t technically blurry. It just looks compressed and muddy — like something got lost between the sensor and the file.
The Mini 4 Pro records 4K at several bitrates and 1080p as well. A common mistake: recording 4K then exporting at 1080p for Instagram or YouTube without proper downsampling. That creates an odd, indistinct softness. Another one — using Normal video mode instead of HQ. The difference is bitrate. Normal uses less data per second. HQ uses more. For anything that matters, use HQ. In DJI Fly, find Video Resolution under camera settings, set it to 4K, then switch Video Format to HQ.
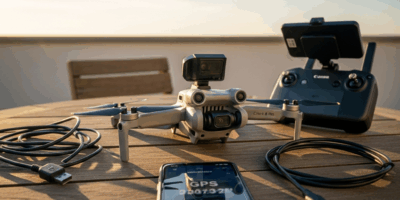
Don’t judge footage quality from the DJI app’s transfer previews when you pull files via USB. Those previews are compressed and look noticeably soft. Pull the actual file onto your computer and open it in editing software — Premiere, DaVinci, Final Cut, whatever you use. That’s the real thing.
Manual bitrate matters too. The Mini 4 Pro defaults to auto bitrate. Switch to manual and dial up the highest available setting — usually around 100 Mbps for 4K. This won’t rescue catastrophically blurry footage, but it prevents the subtle softness that comes from underexposed bitrate choices, especially in shadows and highlights.
Still Blurry After All That — When to Suspect Hardware
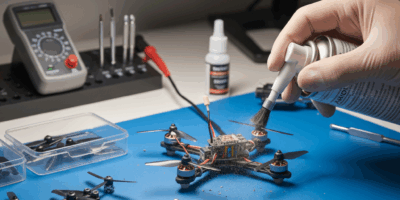
Damaged propellers cause vibration blur. Micro-vibrations travel straight to the camera and show up as a low-frequency shimmer throughout the clip. Inspect all four propellers for nicks, cracks, dents — even small chips cause visible issues. A replacement set of genuine DJI Mini 4 Pro props runs about $15 and swaps out in under two minutes. Don’t make my mistake of flying three sessions on a chipped prop because it “looked fine.”
A dirty or scratched lens creates softness too. I’m apparently bad at remembering to clean mine, and a Zeiss lens cloth works for me while paper towels never do — they leave micro-scratches. Clean in gentle circular motions. I’ve caught tiny dust particles inside the lens housing just by holding it up to a bright window. Dust inside the lens unit itself is a warranty claim, not a DIY fix.
To confirm whether you’re dealing with hardware or settings, shoot a one-minute static clip of something with clear detail — a brick wall, a fence, a building edge. No panning. No movement. If that footage looks sharp, your settings were the issue. If it’s still soft, suspect gimbal motor failure or lens damage. Failing gimbal motors show up as constant micro-jitter even on completely stationary shots. That’s what makes this test endearing to us troubleshooters — one boring clip tells you everything.
So, without further ado, here’s the order that actually works: shutter speed first, then ND filters and focus mode, then resolution and bitrate settings, then hardware inspection. That sequence clears up the majority of blurry Mini 4 Pro footage before you ever have to think about sending anything in for repair. If you’ve worked through all of it and the footage is still soft — you’ve got a hardware problem, and now at least you know it.


Stay in the loop
Get the latest light drones updates delivered to your inbox.